
A reward chart is a visual tool usually used to encourage positive behavior in children.
It typically consists of a chart or a grid with specific behaviors or tasks listed on one axis and a reward system on the other.
In toilet training, a reward chart can help motivate your child to learn and adopt new positive behaviors by visually representing their progress and success.
Here are some steps on how to prepare a reward chart table for use in toilet training:
Step 1: Choose a chart format
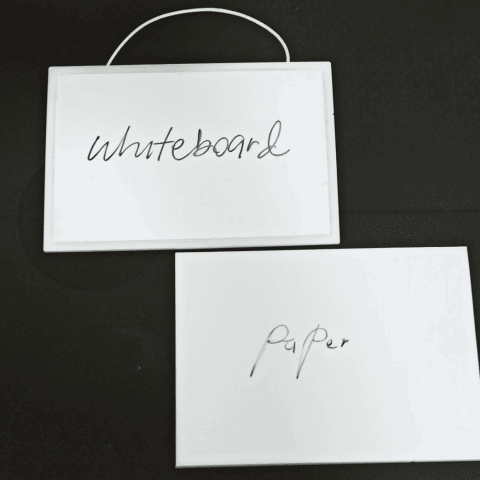
First of all, you need to choose your chart format.
You can use a pre-made chart template or create your own using paper or a whiteboard.
If you want to use a pre-made chart template, you can download a free toilet training reward chart by clicking here.
Step 2: Decide on criteria for rewards
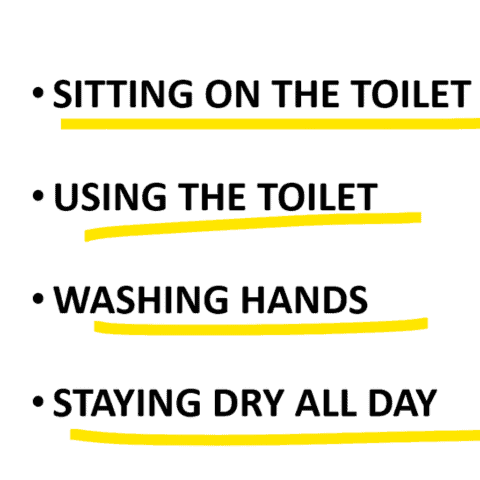
Next, you must determine what behavior you want to encourage during toilet training.
This could include sitting on the toilet, using the toilet, and washing hands.
You can also set a specific goal, such as staying dry for several days.
These desired behaviors can be presented as ‘tasks’ that your child needs to do to get their reward.
You will put these lists of tasks in the chart later on.
Step 3: Select rewards
After deciding the rewards criteria, you must select what rewards you want to offer your child.
Usually, a reward chart system consists of two types of rewards, a small reward, and the ‘real’ reward (predetermined reward).
For each completed task, you can use stickers as a small reward.
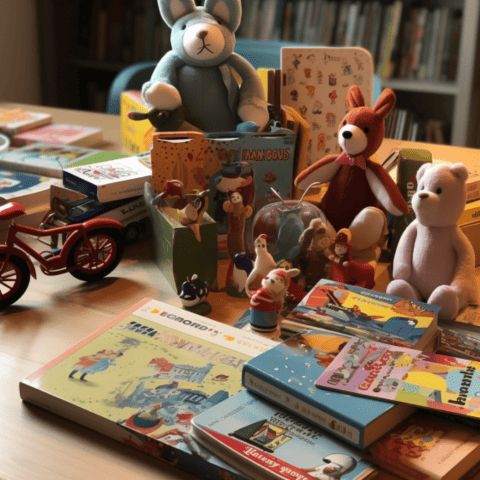
After accumulating the stickers to a certain number, you can give your child their ‘real’ reward. This could include things your child likes, such as toys, books, food, or special activities.
Selecting the rewards based on your child’s age, interests, and preferences is recommended because this would motivate them more.
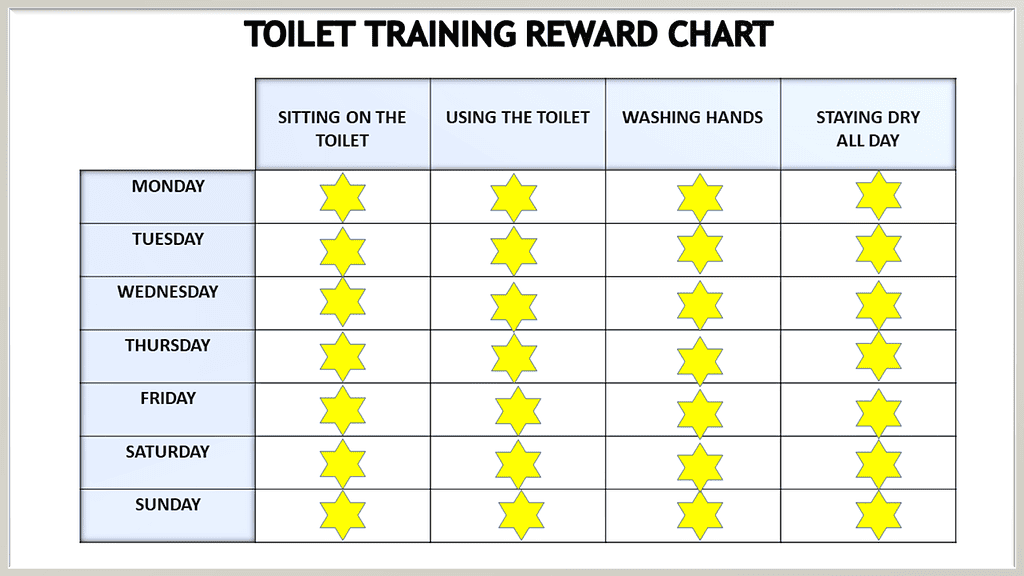
Step 4: Create columns for your chart
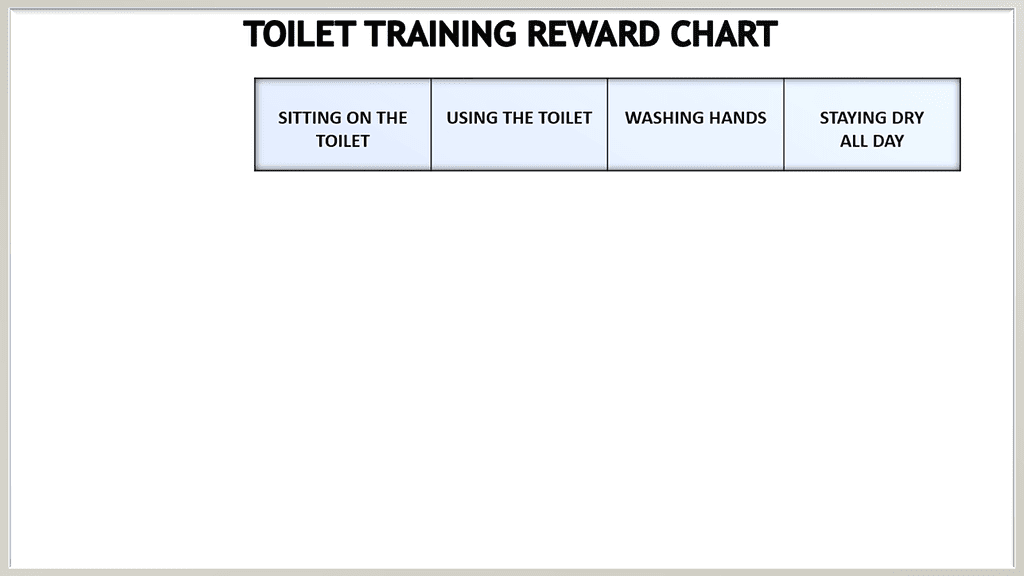
You can now create your reward chart based on your chosen format.
First, you must make a column for the tasks (behaviors you want to encourage.)
For example, column can be for “Sitting on the Toilet,” “Using the Toilet,” “Washing Hands” and “Staying dry all day.”
Step 5: Add rows to your chart
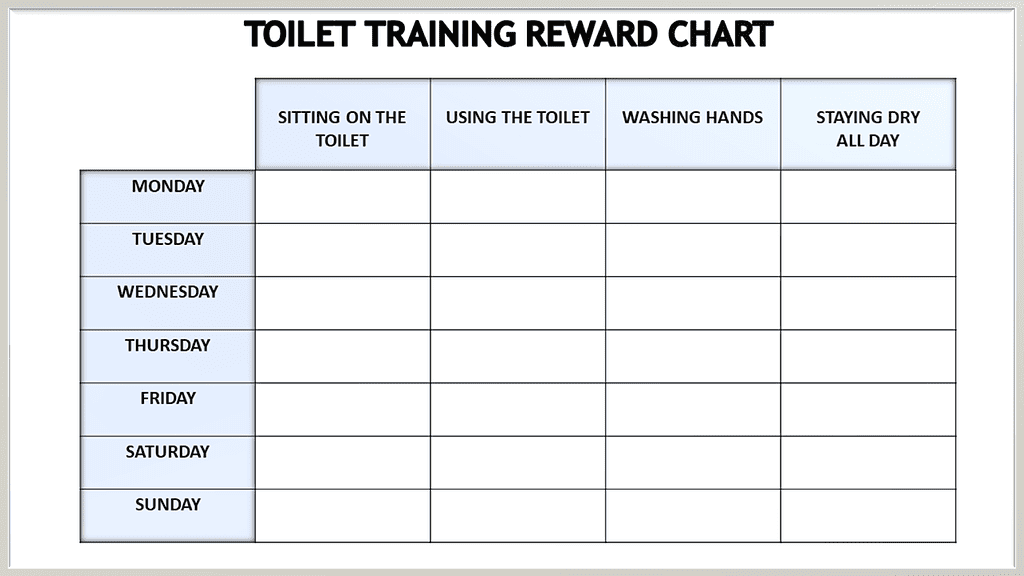
Then, make a row for each day of the week or each time of day.
For example, you can have a row of “Monday,” “Tuesday,” “Wednesday,” and so on to represent each day of the week.
Remember that creating a reward chart should be flexible, and there is no fixed way. For example, you can also use columns to represent the days and rows to represent the tasks. It all depends on which you think suits you best.
Conclusion
Now that you’ve created your own reward chart, you’re ready to use it.
If you are new to the reward chart system and don’t know how to use it, you can check out this article, where I explain how to use a reward chart for toilet training step-by-step.
Lastly, always be consistent and patient with your child, and celebrate their successes throughout the toilet training process.
I hope this article is helpful to you, and if you like it, you may check out my other articles from this blog. Thanks for visiting my blog!